Want to make your basement tfloor shiny and solid? You’re in the right spot. This easy guide will help you learn how to epoxy your basement floor. It’s great for anyone who likes to do things themselves or is considering getting help.
We’ll talk about how to pick the best epoxy, get the floor ready, and put it on the right way. Prepare to make your basement look and feel great.
How to Put Epoxy on Your Basement Floor
Putting epoxy on your basement floor is a great way to make it look nice and last longer. Let’s walk through how to do it step by step.
Picking the Right Epoxy
First, understanding the different types of epoxy available is crucial. For basements, you need one that can handle moisture well. Look for kits that say they’re for basements. Additionally, consider the aesthetic you desire.
Epoxy finishes range from high gloss to matte, and designers create some formulas to be slip-resistant. Picking the right finish can make your basement look better and work well, whether it’s for work, laundry, or fun.
Getting the Floor Ready
Preparation is vital to ensuring the longevity of your epoxy coating. Begin by carefully cleaning the floor to remove all dust, dirt, and debris. A pristine surface will provide a better stick of the epoxy. Next, address any cracks or holes in the concrete.
Epoxy is best applied to a smooth, seamless surface, so filling in imperfections is necessary. To avoid future problems, checking if your basement floor is dry enough before starting is essential. Doing a moisture test, such as the plastic sheet test, can help since moisture is a big problem in basements.
Putting on the Epoxy
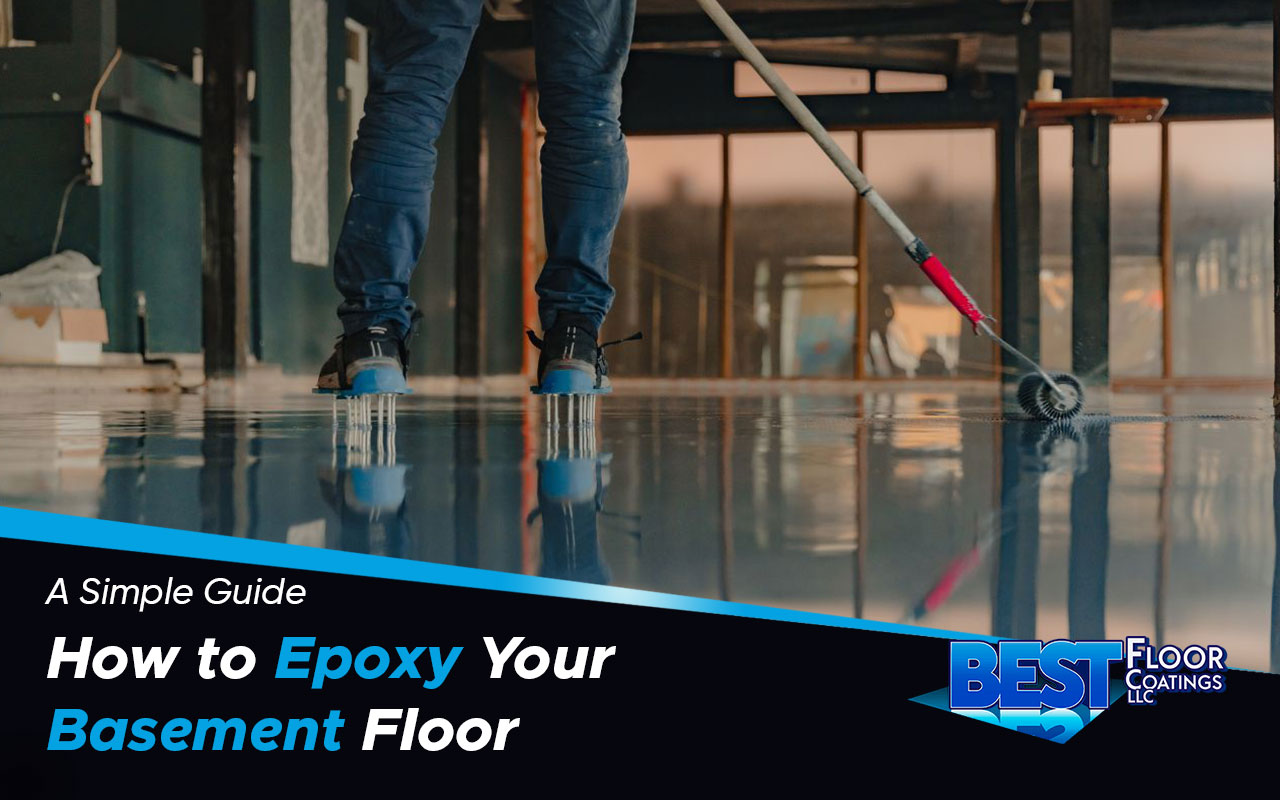
Mixing the epoxy correctly according to your kit’s instructions is essential for a successful application. Use a paint roller to spread the coat exactly. Start in one corner and move across the floor in order. Patience is vital; confirm you allow adequate drying time between coats as recommended by the product instructions.
Making It Your Own
To personalize your floor, consider adding color flakes to the epoxy while it’s wet. This not only improves the visual appeal but also helps to hide minor imperfections. Adding a clear top coat protects your floor from damage and adds extra shine, making the room brighter and more welcoming.
Taking Care of It
Maintaining your epoxy floor is simple. Regular cleaning with a mild cleaner will keep it looking new. Avoid harsh chemicals and rough cleaners that can damage the epoxy.
Additionally, think about putting protective pads under heavy furniture to stop scratches. This helps keep your floor looking new for many years.
With these steps, your basement floor will look amazing and offer a durable surface that withstands the test of time. This project needs effort but pays off by making your basement more excellent and functional, creating a welcoming area.
Best Floor Coatings LLC: Top Choice for Epoxy Floors

Are you looking for how to epoxy your basement floor and want it to look great and last long? Best Floor Coatings LLC is here to help. We specialize in epoxy basement floors, making sure your space shines and withstands the test of time. Our team has the know-how to bring out the best in your basement floor.
We’re all about giving you a personalized service. From choosing the suitable epoxy for your basement floor to applying the final coat, we’ve got it covered. We aim to deliver a basement floor you’ll be proud of for many years.
Are you thinking about getting your basement floor epoxied? Get in touch with Best Floor Coatings LLC. Let’s work together to make your basement durable and stylish. Your journey to an impressive basement floor starts with us!
