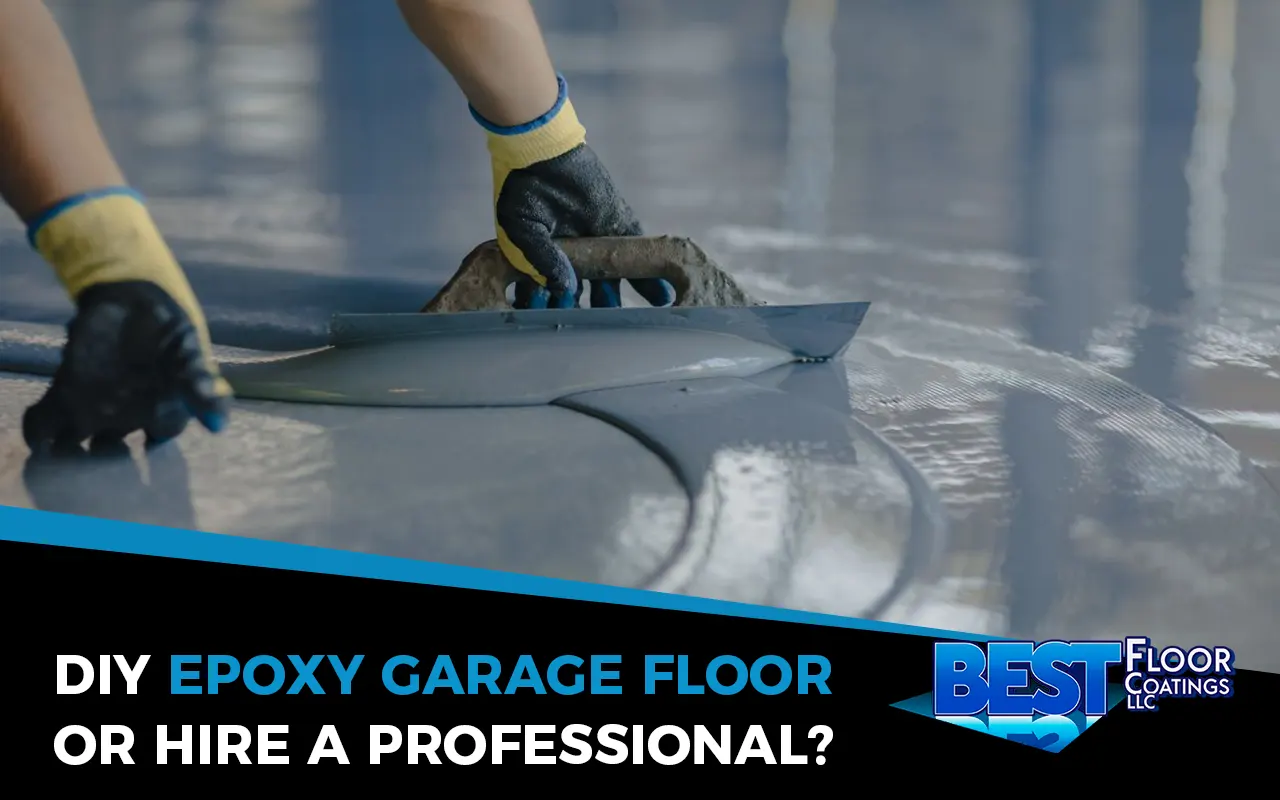
Deciding whether to DIY epoxy garage floor or call in the pros is a significant choice. This project can transform your space, but it has challenges. Opting for a DIY approach can save money, but results may vary.
On the other hand, professionals guarantee a flawless finish. Before diving in, consider your skills, time, and budget. This guide will help you navigate your options, ensuring your garage floor shines with perfection.
Mastering Your DIY Epoxy Garage Floor Project
Embarking on Your DIY Journey
Deciding to undertake a DIY epoxy garage floor project is exciting. First off, let’s understand why epoxy is a stellar choice. It offers durability unlike any other, resisting stains and spills with ease. Moreover, its seamless finish transforms your garage into a professional-looking space.
- Planning Your Project: Initially, assess your garage. Note the dimensions and the condition of the existing floor. This step is crucial for a successful outcome.
- Gathering Materials: Subsequently, gather all necessary tools and materials. A comprehensive kit usually includes epoxy resin, hardener, and a clear coat for that glossy finish.
Step-by-Step Guide to DIY Success
- Surface Prep: Interestingly, most of the work involves preparation. Ensure the floor is free of oils, grease, and dust. Sometimes, this means using a degreaser or etching the concrete with a unique solution.
- Crack Repair: Before applying epoxy, fix any cracks or chips. This ensures a smooth, flawless finish.
- Mixing Epoxy: Follow the manufacturer’s instructions to the letter. Incorrectly mixed epoxy won’t set properly.
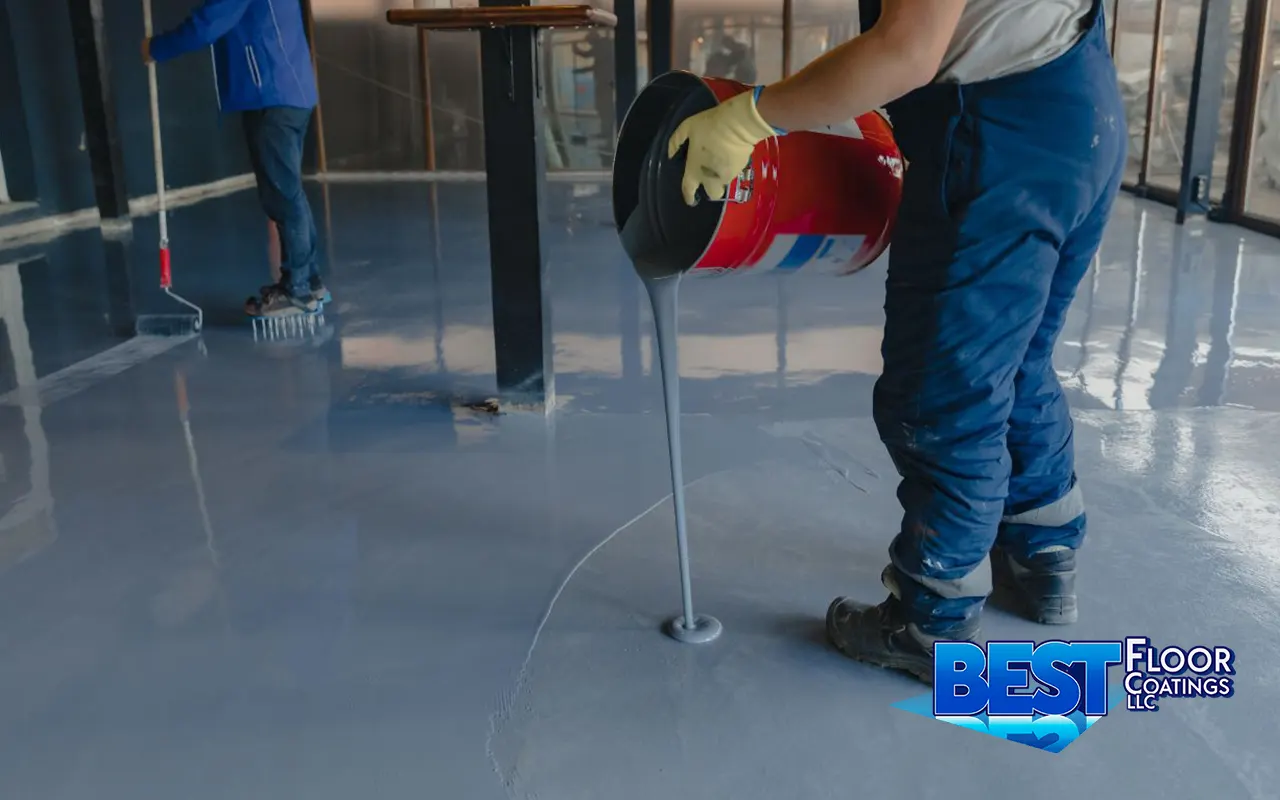
- Application Techniques: Use a roller for the main area and a brush for the edges and corners. Applying epoxy is an art; ensuring even coverage is critical.
Maximizing the Benefits of Your DIY Project
- Cost Savings: Clearly, doing the project yourself can significantly cut costs. While professional installation might seem daunting, the DIY route offers substantial savings.
- Customization: Another advantage is the ability to customize your floor. From color flakes to metallic finishes, the choice is yours.
- Sense of Achievement: Lastly, completing a DIY project brings immense satisfaction. It’s a testament to your hard work and dedication.
Knowing When to Seek Professional Help
Despite the allure of DIY, some situations call for professional expertise. Large cracks or uneven surfaces require specialized tools and skills. Furthermore, a professional can complete the job faster, which is beneficial if time is of the essence.
FAQs:
- Is epoxy safe for indoor use?
- Absolutely, once cured, epoxy is safe and non-toxic.
- Can I use epoxy outdoors?
- Epoxy is best suited for indoor use due to UV sensitivity.
- How do I maintain my epoxy floor?
- Regular cleaning with mild soap and water is all it takes.

Troubleshooting Common DIY Challenges
- Bubbles in the Finish: If you notice bubbles, rolling the epoxy slowly and carefully can prevent them.
- Streaks or Lines: Ensure your roller is evenly coated with epoxy to avoid this issue.
- Peeling After Drying: This usually indicates poor surface preparation. Make sure the floor is impeccably clean before starting.
This guide will equip you with the knowledge and confidence to tackle your garage floor project. Whether you choose the DIY route or professional installation, a beautiful, resilient floor is within your reach.
Choose Best Floor Coatings LLC for Unmatched Professional Services
Best Floor Coatings LLC stands ready to exceed your expectations when contemplating a garage floor transformation. Our team combines skill, precision, and top-quality materials to deliver stunning, durable floors.
We pride ourselves on our attention to detail and customer satisfaction. Are you considering a professional touch? Let Best Floor Coatings LLC elevate your space. Contact us today and take the first step toward a functional garage floor that reflects your style. Your dream floor awaits!
